The web magazine 3DJournal celebrated its 20th birthday last year, in 2023, and so it's time for some news: In addition to a brand new look, it's also offering both of its apps and all of its articles for free starting in 2024.
When you can sync two cheap action cameras, you can easily record 3D video. Here are our tips.
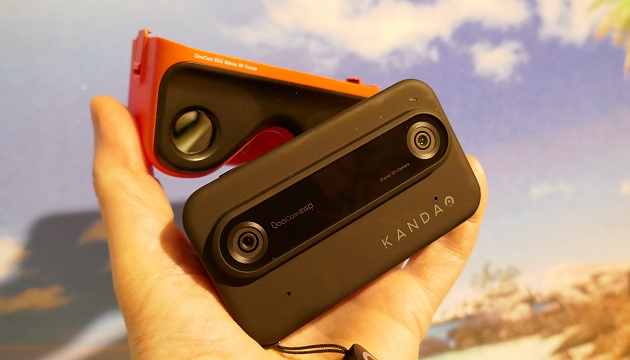
If you are serious with recording of 3D movies and 3D videos, you'll need a 3D camera. How much it costs?
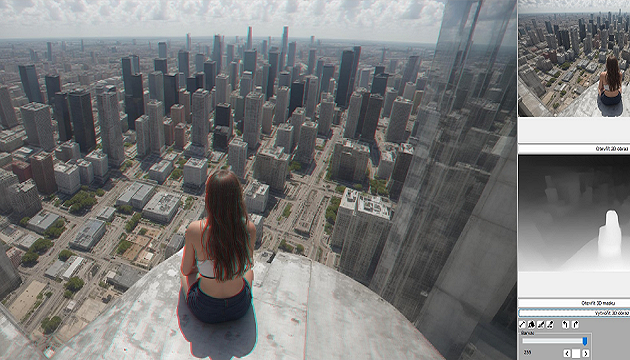
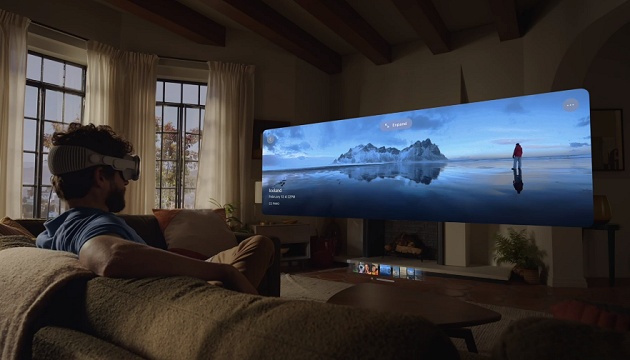
Virtual reality technologies have much in common with those for 3D, but they are not the same. What is the difference? And how to use VR to watch 3D movies or 3D photos?
If you like reading good books in your e-book reader, download our free book about 3D photo and 3D video.
With a 3D printer you can print a variety of small objects, but some people are even experimenting with 3D printed houses.